Order Digital Reprints
Filed Under
Sign Me Up!
Sign up Digital!
Subscribe to Print!
Interested in Systems/ATUs?
Get Systems/ATUs articles, news and videos right in your inbox! Sign up now.
Systems/ATUs + Get AlertsAs-built drawings are a topic that comes up during any installer training we conduct. Clearly, if there is an engineer or designer involved other than the installer, the responsibility for accurate drawings of the final installation may vary.
However, we always point out having good, accurate drawings for your records is important. So either you should obtain a copy if it is someone else’s responsibility or you should capture that information for your records. Some installers suggest that they always take their own measurements and record their install drawings to protect themselves from bad drawings or misinformation provided by others involved in the project.
We would probably agree, especially since we know who will be the first person called if there is a problem or question about the system. It’s usually the installer! If there is a problem or question, the last thing the installer wants is to find out the information on the system is incorrect.
There are other good reasons for having accurate as-built drawings. They allow easy component location by the installer or others in the future, whether for inspection or maintenance. They help with troubleshooting problems as they arise and provide information important to future system additions.
ACCURACY IS CRITICAL
These drawings should be to scale and as accurate as possible. This means using some type of graph paper where each square represents a certain number of feet. We always like to use graph paper that is 10 squares to the inch, which makes for easy conversion.
The drawings should provide accurate locations for each component of the system, including the septic tank, pump tank, drop or distribution boxes, trenches, pressure manifolds and inspection pipes. On sewage tanks, the manhole access points should be located. If system monitoring is required for the permit, monitoring access points should be located. Sizes of the septic and pump tanks should be provided.
Any benchmarks should be located. When there is a pump in the system, there should be information from the design about the pump capacity.
Installers often ask if they need to survey the lot. The answer usually is no. Even though surveying is the most accurate way of locating the system and components, it is also the most expensive and time consuming. Survey precision is not needed to locate the components in the future if the drawings are to scale and the measurements are accurate. If there is elevation, it’s important to have the benchmarks located and information about those specific requirements so they can be measured in the future.
LOCATION, LOCATION, LOCATION
There are two other main ways to capture information for the as-built drawings. The first is to measure the distance to the center of each component from a set point on the face of the building; making sure there is a north arrow or indicator so direction is recorded. This is not as reliable as the second and preferred method: swing tie.
The swing tie method requires measuring two established points from the system component being located. Other significant features can be located, such as well location, large trees or small outbuildings. These points need to be on something that will be permanent, and can easily be located in the future. Usually this means using two points on the house or building, often the corners.
To measure the distances we recommend having a tape that is at least 100 feet long. Otherwise you will likely find your tape does not reach all the way with one measurement, complicating the process. The tape can be in inches or tenths; if it is inches the measurement should be accurate to the inch; if it is in tenths accurate to the one-tenth inch.
The tape should be held tight and the measurements taken in a straight line. It can be laid on the ground and does not need to be held horizontally to account for slope. Others who follow will be measuring with the same slopes, so it will be accurate enough. All necessary components should be located.
A handy way of recording the information on the drawing is to have a table showing the measurement from each point to the component being located. The component on the drawing can be indicated by a number. Remember the drawing is done to scale so that those points are accurately depicted in the drawing. This method is useful when two access points on a septic tank are located.
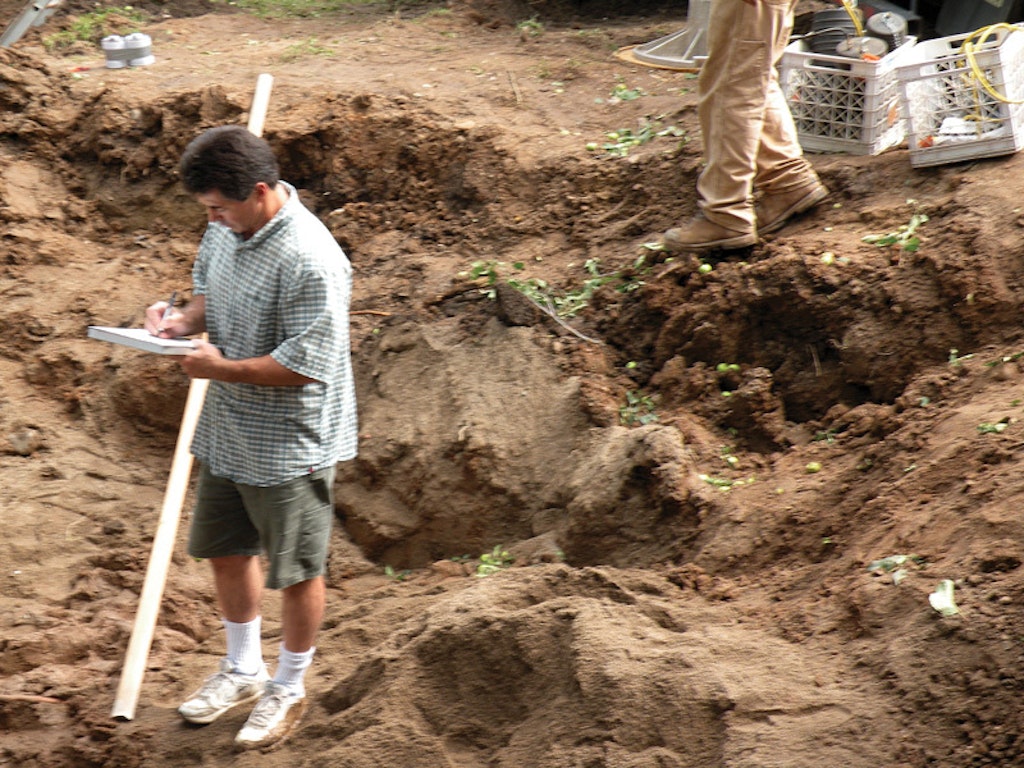
Measurements should be made and recorded from the first point and from the second point. The measurements should be taken before backfilling; a good time is while you’re waiting for the inspector to arrive for the compliance inspection.
RETURN TRIP
We also suggest the installer revisit the site 20 to 30 days after completion of the system. This allows the installer to see if there are settling problems with the backfill and check in with the homeowner.
This is a good opportunity to offer other services your company may provide in terms of long-term maintenance. It is also a chance to give the homeowner information on the “care and feeding” of the system. Information provided can include a copy of the as-built drawing and information on the need to maintain the system. If the installer is also a service provider, it would be good to propose a maintenance program for the system.