I get calls about failed pumps all the time. Many times, the customer is frustrated because this will be their third or fourth pump. We all know that in many instances do-it-yourselfers (or their buddy who "knows what he’s doing") have gone to the hardware store, and replaced their pump with a sump pump, or whatever pump they see on a shelf. That’s not going to pressurize a mound properly nor lift water up a very tall hill.
One of the biggest mistakes made when replacing a failed pump is just putting in the same model pump that was originally there. If the one they have now failed, maybe it was never the right one to begin with. Many of these people when calling about a third or fourth pump say that the person “put in the same pump that was in there” as if they are defending the person who last replaced the pump that no longer works.
Because I hear all the time that “my pump failed but they put the same one in and now that’s failed,” I begin by not trusting the pump that is in there now.
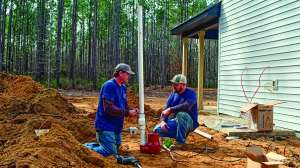
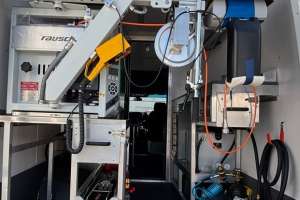
But first, we’ll take a visit to the pump. We will test the pump, make sure there is power to the pump, and we will also cut the pipe coming from the pump in the tank, and run the pump, to confirm that it isn’t a plugged system. If it’s not pumping down before you cut the pipe, but pumps just fine when you cut the force main, might just be a plugged system or blockage in the pipe. This site visit will also answer whether the pump is 110 volt or 220. The visit will also answer if the pump is easily accessible from the surface or if confined-space entry is required.*
If we confirm the pump does need replacement, the very first thing I do is contact the county to get a copy of the system plan, and better yet, if possible, the "as-built" inspector information that was filled out at the time of system install. As-built info is the very best way to determine the proper replacement pump, and many times it might be a different pump than the model they have now. Not all systems will have this information available, but it seems more and more do.
If I get as-built info, I check the actual total dynamic head (which many times differs from what was proposed on the plan) and system required gallons per minute. I look at what pump was installed initially and verify on its pump curve if that one was right to begin with. I do find many instances where the initial pump either does not work on the pump curve at all, or is way out to the very end of the curve.

A pump too far to the end of a curve is not operating as efficiently as it should. In most cases you want the pump to be operating as close to the middle of the curve as possible — that’s the sweet spot where the pump operates most efficiently and should last as long as possible. If you have the county records, or if the owner has the records, double-check what pump will best serve the TDH and gpm as close to the middle of the curve as possible. Please note each pump has its own curve; there is not a master curve for all pumps.
Last summer I had a family call who just had their pump replaced for quite a high dollar amount but said it still wasn’t pumping down. The person replacing the pump said he replaced it with the same model pump as the original. I obtained records of their system and realized they had a 21-foot vertical lift from their pump to the system elevation. I checked the pump curve of the pump that had just been installed, and the pump curve clearly indicated there was no way the pump could even pump 21 feet of vertical lift. The pump wasn’t able to even get the water to the top of the hill where their system was.
Replacing a pump without verifying on its curve that it will work is a recipe for another pump replacement. By using a curve you achieve many things. The first one is simple: you cannot size a pump properly without using the curve. The second is in that example I used of the 21 feet vertical lift, I showed the curve to the customer (who in turn showed it to the person who installed the wrong pump). It confirms, verifies and documents to your customer that you are doing everything you can possibly do to assure you are using the pump that will work properly and last as long as possible.
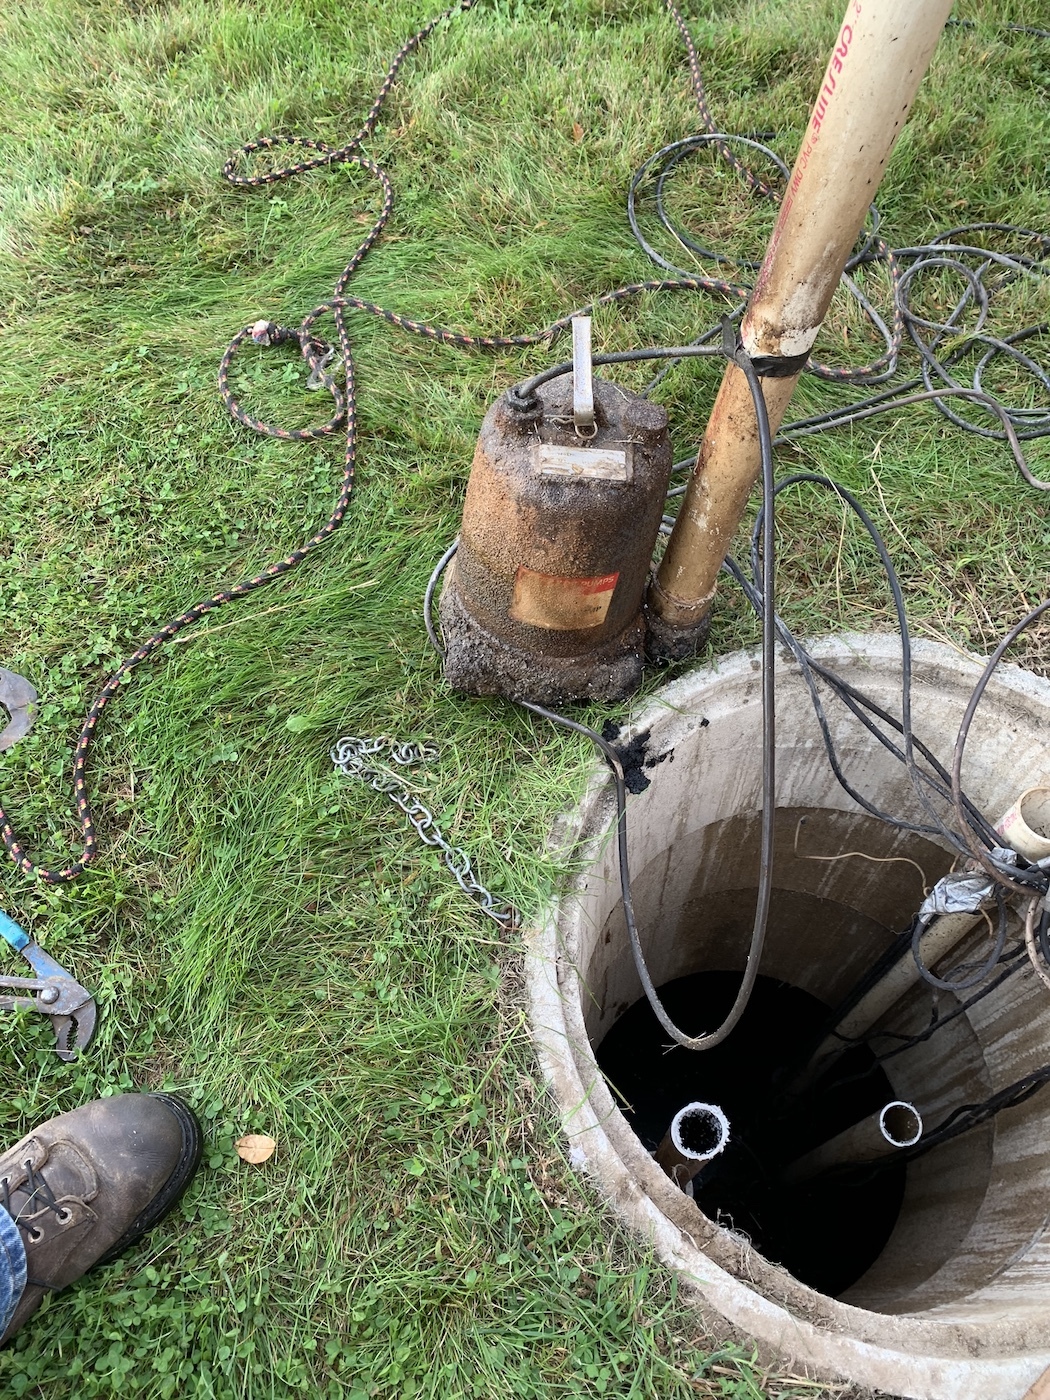
And this is why when you install pumps you should make sure they are installed in a manner where the pipe from the pump comes up high enough to reach by hand without tank entry, before turning back into the tank and exiting the outlet of the tank. Most installers also use a separate PVC pipe for a float pole so if it’s ‘just’ a float problem, floats can be pulled up without raising the pump.
Don’t ever assume just because a pump is already installed that it’s the right pump for the system. I constantly find systems that have pumps with curves that do not meet the design of the system. A future article will discuss understanding the pump curve in detail, including the total dynamic head and gallons per minute.
*Note: DO NOT ever enter a tank unless you are certified in confined-space entry and are properly equipped with the required and necessary safety gear for tank entry. Persons not certified in confined space who merely put a ladder in and say, “this won’t take very long” risk death within moments.
About the author
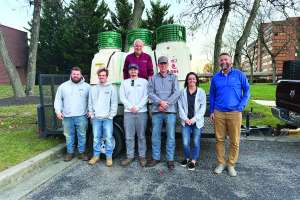
Todd Stair is vice president of Herr Construction, Inc., with 34 years’ experience designing, installing, repairing, replacing and evaluating septic and mound systems in southeast Wisconsin. He is the author of The Book on Septics and Mounds and a former president of the Wisconsin Onsite Water Recycling Association.
Continue reading for free