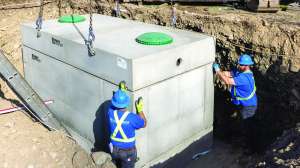
One advantage to working on septic systems for over 40 years is that people I have worked with often share pictures or stories of interest. In this case my colleague Kim Seipp sent me this picture of a repair job in Colorado. Hopefully everyone reading this identifies immediately that this is not the way to properly repair or replace a baffle in a concrete tank.
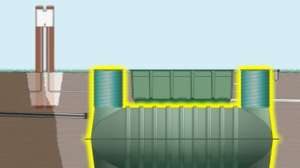
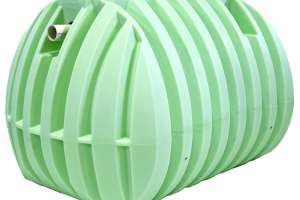
By way of review: There should be baffles at both the inlet and outlet of a septic tank. They need to be of the proper length and have a gap between the top of the baffle and the bottom of the tank lid to allow for exchange of gases and venting. The inlet baffle directs the raw sewage from the residence downward into the middle zone of the septic tank. This means the effluent follows a tortuous path through the tank that provides the detention time necessary for the larger solids to settle out before effluent is delivered to the final treatment and dispersal part of the system. This results in formation of the sludge layer on the bottom of the tank where some solids are broken down while the rest remain to be removed when the tank is properly cleaned.
The inlet baffle also prevents floating scum from plugging the inlet pipe. The outlet baffle takes sewage effluent from the clear zone in the tank and allows it to flow out of the tank. Floating scum made up of grease and soap residue is retained in the tank to also be removed when the tank is cleaned. Most codes now require the addition of an effluent screen at the outlet baffle to further ensure sludge and scum or other floating material does not leave the tank.
The picture shows a deteriorated concrete baffle at the outlet of a septic tank. The fix in this case is to remove the remains of the concrete baffle that was cast with the tank and replace it with a sanitary tee. The person(s) that did this job had the right idea because the sanitary tee is attached by couplings to the outlet pipe of the tank. However, they did not remove the remains of the concrete baffle so the pipe extending into the tank is not vertical. There is also not an effluent screen, so this baffle will not provide the important function of delivering a relatively clear liquid to the next part of the system.
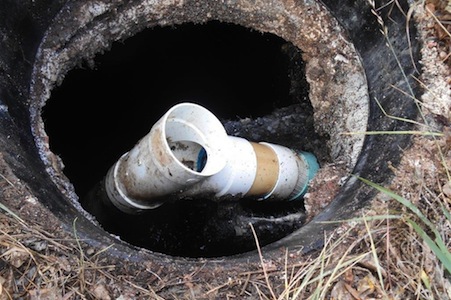
The remains of the baffle should be removed by use of concrete saw or cold chisel and replaced with the sanitary tee connected to the outlet pipe. There may be the need to repair the concrete around the pipe or retrofit a rubber gasket to ensure the tank remains watertight and root free.
The service provider will also need to look at the vertical length of pipe to make sure it is the proper length. The outlet baffle should extend to 25 percent of the operating depth in the tank. So if the tank is 60 inches deep the baffle would have to extend 15 inches.
I would be interested to hear how others would approach repairing a baffle.
Comment below or email kim.peterson@colepublishing.com with your baffle repair tips.
Continue reading for free