After any system has been constructed, installers must typically complete an as-built to submit to the local government. Even when not required, it is good practice to provide documentation for your company and the owner.
An as-built is the drawing and documentation specifying the final in-place location, elevation, size and type of all system components. These records identify the results of materials testing, describe conditions during construction and indicate that completed work was in accordance with applicable requirements.
As-built maps and specifications are useful for future homeowners, service technicians and health departments because they remove the guesswork during routine service work, repairs or landscaping. They can be used by the pumper if the lids become buried over time to locate the tanks and can also be useful during home sales as a copy of the as-built is included in the closing documents. Drawings are also useful to help property owners from accidentally building a deck, shed or pool over the system.

Contents
As applicable, an as-built should contain:
- Location and elevations of the outlet from the house
- Location and elevation of the septic tank(s) and dosing tank
- Location and elevation of the manhole on the septic tank
- Location and elevation of additional pretreatment components
- Panel brand/characteristics
- Pump total dynamic head and gpm
- Location of the soil treatment area
- Details of imported treatment media
- Details of distribution media
- Location and elevation of the gravity or pressure distribution system with the location of access points for O&M being critical
- Elevation of the top and bottom of the distribution media
- Elevation and characteristics of the final cover material
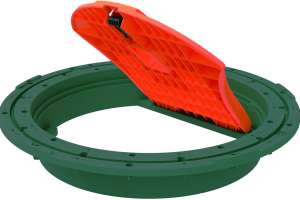
- Location of all access points: risers and lids, clean-outs
The map must have at least two measurements from fixed points (like the corner of the house, a foundation wall or a permanent well casing) to each component so they can be found years down the road. Other critical aspects to include are a north arrow, slope direction and the reserve area (if applicable).
More than just drawings
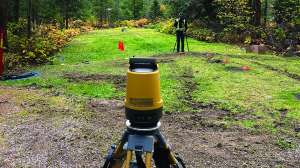
A camera should be used as part of an installer’s as-built documentation. These photographs may be valuable in the future, in case there is a question about the proper siting or construction of the system.
Take pictures of the construction site as a whole. Begin by taking photos before construction begins, so that an overall view of the site will be available. Next, photograph the site after the vegetation has been cleared. Be sure to include any trees (before and after), highlighting that they were cut off and not grubbed. If a soil pit or boring is evaluated during construction of the system, photos should be taken, including tape measures alongside the soil to indicate where the limiting condition was identified.
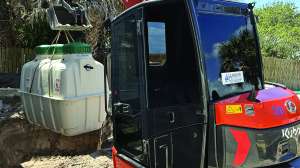
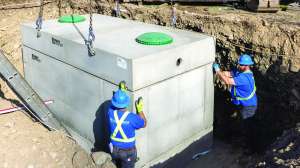
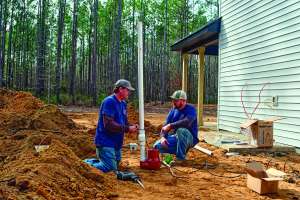
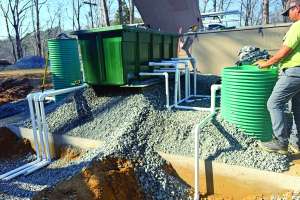
During the installation a critical photograph is of the building sewer from the house to the first component, typically the septic tank. This should include the placement of the building sewer, the connection to the house, the clean-out location, the connection to the tank and the type of pipe used for the connection. The tanks are typically the next in line, so documenting the location of the tanks along with the bedding material, depth of installation, capacity of tank(s), risers, connection points of risers to the tanks, tank lids, backfill and cover materials and final grade.
If a dosing chamber is part of the system-critical aspects to document with a photo include:
- Wiring
- Control panel
- Connection of the pipe to the pump
- Wiring of the floats
- Entire setup before placing it into the tank
- Method to lift the pump off the bottom
- Pump in place, to record-keep its in the tank
Your next set of photographs should depict the site preparation of the STA. These photos should include the staking, but more importantly, should show the site after the soil interface has been roughened. With all STAs, we want the natural soil structure to be exposed so documenting that the sidewalls and bottom of the system were not smeared or compacted is a critical item to document. Make sure pictures of this portion of the construction include the equipment actively engaging in work.
Don’t forget
Easy things to overlook that should also be documented with photos are materials that are used as part of the installation such as clean sand or rock. Take a picture of the sand itself and include a photo of the jar test if it has been run. Photograph the placement of the media and include the equipment used for placing it. Your photos should show the depth of the media and how it was placed. If rock is used, a close-up of the rock with reference for scale should be taken to show the size and quality. Photograph the placement of the distribution media and laterals. Documenting the glue process and orifices is also a good practice for documentation.
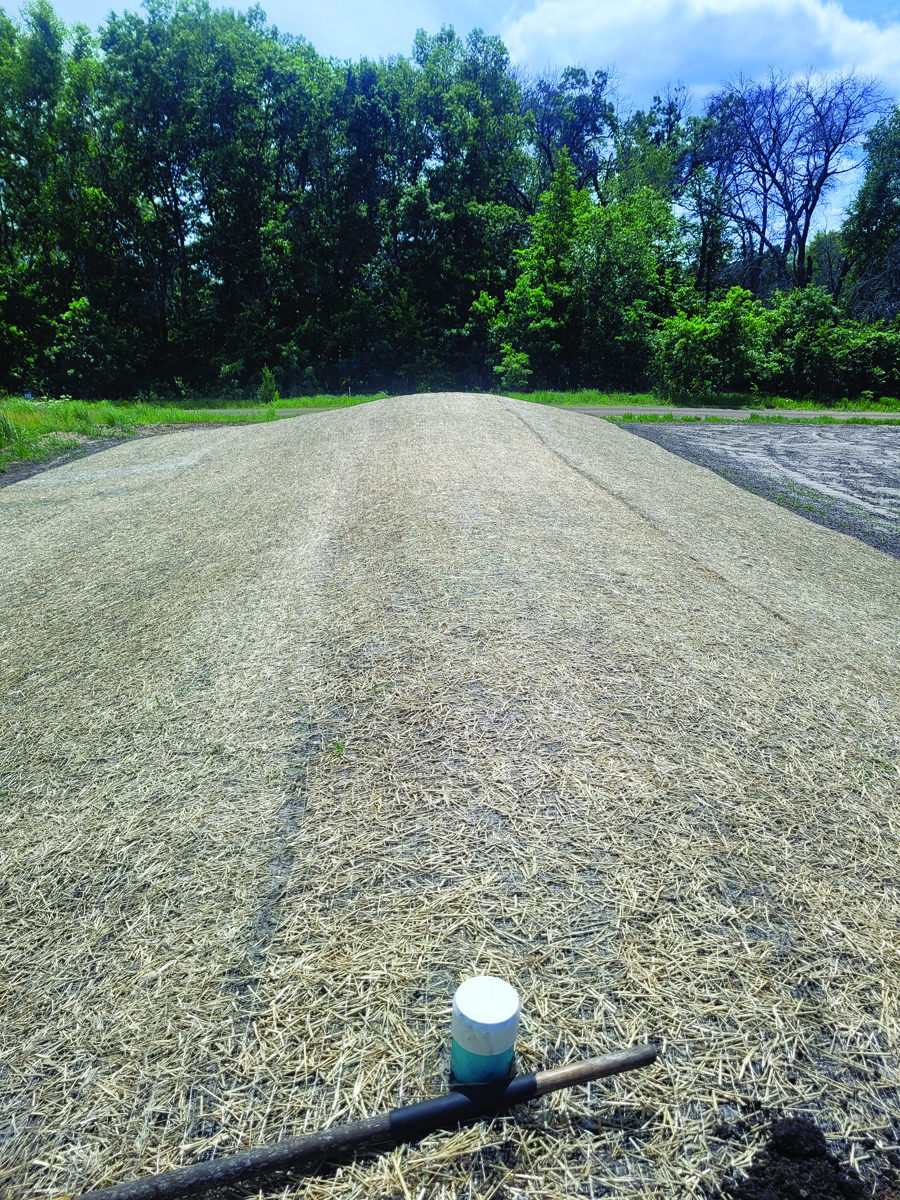
Were there any unusual or special considerations on the site? If so, photograph them. These may include tile drainage, special sloping for placements and special soil conditions. Another concern may be identifying and protecting a secondary site or trees. Photos showing setbacks, such as those from wells, buildings and property lines, may also be appropriate. If you performed any landscaping such as planting of seeds or placed erosion control measures, these should be documented.
Now you are ready to photograph the finished product. In these pictures, include how the entire area was finished. The goal is to complete a good record of the construction that can be a benefit to you and your client for years to come.
Continue reading for free