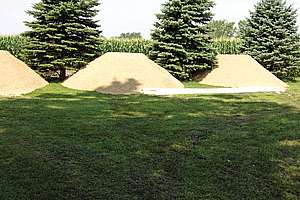
As we travel around the country, we often talk to installers about aboveground systems. We explain how soil treatment mound systems and, in the last decade, at-grade systems are designed to solve specific soil problems, including lack of separation distance to a limiting soil layer and slowly permeable clay soils.
As we describe the success we have had with such systems in Minnesota and Wisconsin, the discussion usually turns to a statement like, “Our state tried these systems and we had problems, so we don’t use them anymore.”
In our view, this is unfortunate, as it severely limits installers’ ability to use what is in fact a conventional technology to solve some of the most common soil problems. So, over the next several articles, we will break down the installation of these systems into their components and show where installers have had problems, leading to the conclusion that the systems are too difficult to install or just do not work.
At the surface
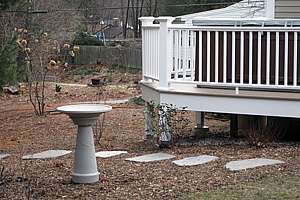
This month we begin at the beginning: preparation of the surface where the aboveground system will be installed. The first layer of any aboveground system is the original soil surface. We like to point out that the installer is using an aboveground system precisely because there is some soil problem that needs to be overcome. That means good installation principles of Keep it Dry (KID) and Keep it Natural (KIN) need to be followed even more closely than when installing a conventional system in a deep, well-drained soil.
For proper hydraulic performance, there needs to be at least three feet of natural or clean sand above the limiting soil condition. This provides the necessary separation distance from the infiltrative surface where the septic tank effluent is applied to the limiting soil layer.
The three-foot separation distance is a Minnesota requirement; many states require four-foot or five-foot separations, so check your local regulations. You can use any combination of good soil and clean sand to provide the separation distance. However, recognize that you need at least one foot of natural, unsaturated soil to construct a mound. Unless the soil under the mound will transmit liquid both vertically and horizontally, the mound will not function properly.
You need to inspect the area where the mound or at-grade will be installed to evaluate the soil condition. This evaluation assures that the KIN principle is followed. A soil surface that has been smeared or compacted or otherwise made unsuitable for the movement of liquid will not recover its capacity to transmit liquid without a great deal of additional time and effort.
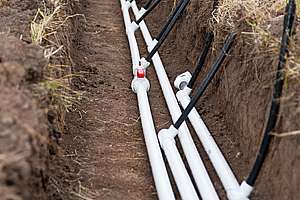
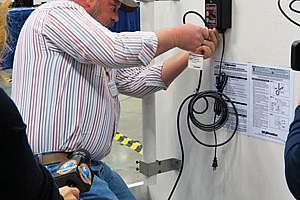
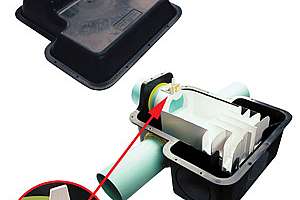
If the mound is simply placed on this damaged soil regardless, effluent will likely seep out the toe of the berm, and the system will be classified as failing in a very short time. As a side note, the discharge pipe from the pump to the mound or at-grade area should be installed before soil surface preparation. The trench excavated to install the piping should be carefully backfilled and compacted to prevent seepage.
Keep it clear
All vegetation longer than two inches must be removed, along with any dead organic debris, leaves and woody material. This often means mowing the grass to two inches or less in height and then raking the entire area. This may involve some hand labor.
One question we often hear is: “What if the site is wooded? Do I need to remove the stumps?” The answer – contrary to what you may have read elsewhere – is that trees should be cut as close as possible to flush with the ground and the stumps left in place. Hauling or pulling stumps will likely cause damage through compaction of the soil.
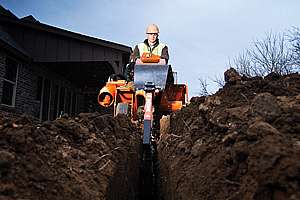
The total area that will be under the mound or at-grade berms should be roughened to break up the existing sod layers and provide a transition zone between the original soil and the sand you will place to construct the mound. You can prepare the surface with a moldboard plow, a disk, or a backhoe using the bucket teeth. We call this turning the greenside down.
Moldboard plow furrows should be thrown upslope and should run perpendicular to the slope. There should be no dead furrow under the mound. If you use the backhoe technique, the operator needs to move around the perimeter, reaching toward the center. Do not drive to the middle and work the area, then drive back out – this can cause considerable damage to the soil’s ability to transmit liquid.
Work dry soil
You can use a disk to roughen the soil surface and to break up the sod, but take care not to compact the deeper soil layers. Rototillers should not be used to prepare the surface.
In some cases we have seen installers use a scraper or tracked vehicle to remove the upper portion to the soil, either to stockpile the topsoil or for ease of construction. In no case should any surface soil be excavated or moved more than one foot from its original position. Failure to observe this rule is one large cause of mound and at-grade failures.
One final comment: Since these are problem soils, often high in clay content and sometimes wet, the KID principle is key. Remember, if you can take a sample of the surface soil and roll it into a wire 1/8-inch in diameter, the soil moisture content is above the plastic limit, and the soil is too wet to begin construction. You need to wait until the soil is dry enough to fall apart when you try to roll it into a wire.
During rainy, wet periods, it may be difficult to wait, but waiting will pay dividends in system performance. Once you have prepared the soil surface, start construction immediately. Do not allow rain to fall on the prepared surface, or you will have to let it dry and rework it.
In the coming months we will cover other important aspects of mound and at-grade installation.
Continue reading for free